Showing posts with label recipes. Show all posts

Three Cheers, Three Cocktails: A Toast To Her

2.14.2018


Strong women... may we know them, may we be them, may we drink with them.

That's how the saying goes right? ;)

This past Sunday I had a chance to do just that and share drinks with a bunch of strong and wonderful women at a Galentine's brunch event hosted at one of my absolute favorite restaurants, CUCINA enoteca.

The event, which was to celebrate women we love with toasts in their honor, featured three delicious cocktails crafted by one of CUCINA enoteca's mixologists, Korie Rogers, featuring Pomp & Whimsy gin liqueur.

And honestly? These drinks were so delicious that it would be criminal not to share them with the world. Which is why I was super pumped today when the generous teams at CUCINA enoteca and Pomp & Whimsy let me know they were cool with me publishing the recipes.

So break out your jiggers, grab your gals and raise a glass filled with one of these amazing cocktails!

Savory Thanksgiving Turkey

11.26.2017

Ready for the oven!!!

After three years of cooking Thanksgiving turkey in a row, I think I've finally got my recipes down.

Which is a really good thing, considering this year I cooked Thanksgiving dinner for 17 people and 5 dogs and hosted them all in our 500 square foot beach bungalow. #yikes

But after sharing my methods while talking a few first-timers through their turkey prep this year, I realized that I should probably take the time to write it all down. So I decided to put together a little guide to my no-fuss Savory Thanksgiving Turkey: from the kitchen essentials to the shopping list to the day-of timeline right down to the recipes for the roasting pan, herb butter, and gravy... I compiled it all here for future reference.

If you're into a relatively uncomplicated bird and have a local Trader Joe's nearby, this guide may be all you need for a delicious, stress-free Thanksgiving turkey!

Hearty Plant-Based Quinoa Chili

10.22.2017


Even though it's still 90° degrees out in San Diego, we are officially in the middle of my favorite season: autumn. Which means it's time for one of my favorite fall activities: cooking chili.

This year, I've been interested in working more plant-based dinners into the rotation. As a lifelong meat eater, I don't have a lot of practice cooking meals that aren't constructed around meat. I also have a hard time feeling like I'm getting enough protein or like my meal is hearty enough when I attempt plant-based dinners.

But if there's any meal that defines heartiness it's chili. I don't think it's even possible for chili not to be hearty. So, inspired by a recipe I saw in a cookbook at my friend Makena's house, I attempted my own version of the One Pot Quinoa Chili from "28-Day Plant-Powered Health Reboot" by Jessica Jones and Wendy Lopez and it was delicious. 

Fresh jalas from the garden!


Jessica and Wendy's book has a lot of other amazing plant-based recipes and their Instagram account,  @foodheavenshow, is super inspiring. These two bicoastal registered dietitians have such a refreshing and realistic take on eating healthy. I will definitely be going back to their cookbook for more of our plant-based dinners this fall.

Ultimately, this recipe is as simple as it is tasty and it will easily provide dinner for two and at least 4-6 lunches to boot. It's also a great excuse to harvest your home garden or use up any veggies before they go bad!

Hearty Plant-Based Quinoa Chili
Yield: 6-8 Servings

  • 1 medium white onion, diced
  • 2 medium tomatoes, diced
  • 3 large carrots, diced
  • 1 large red bell pepper, seeded and diced
  • 2 large zucchinis, diced
  • 3-5 cloves of garlic, minced
  • 2 jalapeños, seeded and chopped
  • 2-3 tbsp extra virgin olive oil
  • 3 1/2 cups of water
  • 2 15.5oz cans of organic tomato sauce
  • 1 15.5oz can of organic black beans, drained and rinsed
  • 1 15.5oz can of organic chickpeas / garbanzo beans, drained and rinsed
  • 1.5 cups uncooked quinoa
  • Cumin
  • Chili powder
  • Red chili pepper flakes
  • Sea salt and black pepper
  • 2 tbsp diced green onions
  • Shredded cheddar cheese

1. Chop up all the veggies and mix together in one bowl with the minced garlic. Set aside. 
2. Heat up the olive oil in a large pot over medium heat. Once hot, pour the bowl of veggies in and cook for 5-7 minutes.
3. Add the water, tomato sauce, black beans and chickpeas and stir. 
4. Once all the veggies, beans and liquids are mixed together, add the uncooked quinoa and spices. Cook for 30-35 minutes, stirring every 10 minutes. Note: I don't really measure out spices, I just kind of eyeball it and keep adding it in as I cook. Go light with the red chili pepper flakes though, unless you want it really spicy!
5. Top bowls with some cheddar cheese and garnish with green onions. Enjoy!
6. Oh yeah! And compost what's left! :D


Spiced Fruit Bake

11.30.2016


I don't have many family recipes.

In fact, I really only have one. When I finally started to fall in love with cooking in my mid-20s, this realization really bummed me out. I found myself deeply saddened by the fact that there was nothing that had been passed down through the generations in my family. No special sauces, no baked goods, no holiday staples...

Except, of course, for Spiced Fruit, which is sort of all three of those things.

A Pineapple A Day

2.03.2015


Every morning I wake up to the sound of screaming parrots.

I mean, it's out of control at this point. I don't know where they came from or when they got here, but they're here now. Dozens and dozens of green parrots screeching from the trees as if something is attacking them. Some of our neighbors in Ocean Beach told us they live here during the winter and they'll be gone again soon, but for me? It's not soon enough.

Which is funny because for a long time I dreamed of living in a tropical paradise, one where I  could wake up in some boho beach shack to the sound of tropical birds and waves crashing, walk out of my front door onto the sand and eat fresh fruit every morning for breakfast.  While San Diego is not quite the tropics, with the recent appearance of these birds, it would seem that a version of that dream has come true.

For instance, until the planes start flying overhead each morning, I can in fact hear the waves crashing onto the beach, 500 feet away. Our little casita is almost as boho as I envisioned, minus the palapa roof that I imagine wouldn't hold up so well here. And most mornings, I do try to start my day with some fruit, sometimes fresh, sometimes frozen.

Because you know what they say: a pineapple a day keeps the worries away.


Mango Strawberry Mint Energy Smoothie

12.19.2014

Thanks to GNC PurEdge for sponsoring this post!

One of my takeaways from the Fast Metabolism Diet was how easy and delicious fruit smoothies are to make. And one of my favorite recipes is Hayley's Frozen Fat-Burning Mango Smoothie. It's so quick, refreshing and delicious in the mornings, that I find myself craving it on a fairly regular basis.

Since I first did the diet 9 months ago, I've customized the recipe through a couple of additions. First, I've found that not only does a 1/2 cup of strawberries make this smoothie taste perfect, but it makes it look pretty too! Kind of a like a sunset in a cup. Second, if I'm making this for breakfast, I figured, why not get a little boost? It will definitely help with morning workouts. So I've decided to start adding an energy supplement to the mix.

For this recipe, I tried GNC's new PurEdge Daily Energy, which comes in Cherry Limeade or Watermelon. I used the Cherry Limeade for this, but I may have to get the Watermelon because that combo sounds pretty on point. Throw it all into a single-serve blender that converts into a travel mug, and this whole thing will be ready and in your hand for your morning commute in under 10 minutes!

Ingredients
  • 1 cup frozen mango chunks
  • 1/2 cup frozen strawberries
  • 1 scoop GNC PurEdge Daily Energy Supplement (Cherry Limeade or Watermelon)
  • 1 Meyer lemon, juiced
  • 2 fresh mint leaves
  • 3/4 cup water
  • 1 cup ice

1. Add the mango, strawberries, energy supplement, ice and water to the blender.
2. Juice the lemon and add to the blender, careful to strain out the seeds.
3. Tear the mint leaves to bring out the flavor and sprinkle on top.
4. Blend until smooth.

Gluten-Free Caprese Mini Sliders

11.06.2014


Every year around this time, I begin scouring Pinterest for quick and tasty appetizers that I can bring to any one of the many seasonal gatherings we find ourselves running off to.

Between football Sundays and Friendsgivings, birthdays and White Elephants, work and Christmas shopping and visiting with friends and family who are in town just for the holidays, November and December are hectic enough. Then, in the midst of all that, I have to try to find time to prepare a tasty, unique food offering to bring to a party, and oh yeah, one that meets everyone's various dietary restrictions.

But this year? This year I will nail it.

Star Spangled Rice Krispie Treats

7.03.2014


I don't think there's anything more American than Rice Krispie treats. Except for maybe football and reality television. But if you're still looking for something to make for your 4th of July BBQ tomorrow, look no further.

This recipe will make about 9 star-shaped Rice Krispie treats. A couple of years ago we made 3 batches for a total of 27 treats and there wasn't a single one left over!

Star Spangled Rice Krispie Treats
(adpated from this recipe)

  • 6 cups of crispy rice cereal 
  • 4 cups miniature marshmallows
  • 3 tablespoons of butter
  • White frosting
  • Blue frosting
  • Red sugar
  • Star-shaped cookie cutter
  • Wax paper
  • Cookie sheet
  • Rolling pin

1. In a saucepan, melt the butter over low heat, then stir in the marshmallows until completely melted.
2. Add the crispy rice cereal and stir until coated.
3. Place wax paper onto a cookie sheet and pour mixture onto paper. Place another piece of wax paper on top and roll out mixture with rolling pin until the mixture is flat and about an inch thick.
4. Use the cookie cutter to cut out the stars. Combine the scraps and roll out again to use as much of the mixture as possible. Note: This part can be tricky especially as the mixture cools. 
5. Decorate with frosting and sugar. 

Raspberry Lime Cuervo Cocktail

5.27.2014


Maybe it's leftover from our time in Sayulita, maybe it's just the heat. I mean, Memorial Day is the official start of summer after all. But for whatever reason, tequila's been my go-to lately. Exhibit: A.

Like.. tequila is my ladyyyy...

Fireball Fridays: Hot Toddy Cocktail Recipe

2.07.2014


To know me is to know how much I love the cinnamony goodness that is Fireball Whisky. Say what you will about flavored liquors, but Fireball is my beloved exception, the one drink that I will push on people until I have converted even the snobbiest of drinkers into a believer. And during the blustery months of flu season, there is no better vehicle for Fireball than in a Hot Toddy. 

I had my first Hot Toddy at a bar in the Upper East Side of Manhattan. It was a tiny, dark steak house with a crotchety but lovable Irish bartender and thus the perfect place for a bunch of broke, aspiring writers to convene every night after class. One night I told Frank the bartender that I wasn't drinking because I had a cold and he waved me off and said he had the perfect thing: a Hot Toddy. Some tea, some honey, some lemon... and most importantly, some whiskey. 

I don't know much about the healing powers of Hot Toddys, but it sure made me feel better that winter night. And ever since then it has been my go to drink for chilly, rainy days (or snowy ones when I'm on the East coast). This past winter I started making them with Fireball and will never make them any other way. So grab a bottle of Fireball, boil some water, and prepare for the yummiest hot cocktail you've ever had. 

Ingredients
  • 2 oz Fireball Whisky
  • 1-2 tsps of honey
  • 1/2 lemon
  • Black tea (Earl Grey works best)
  • 5-6 oz boiling water
1. Boil the water or microwave for 2 minutes until hot.
2. In the empty teacup, add about 1 to 2 teaspoons of honey, a good squeeze from the lemon half and the tea bag.
3. Add the water and stir. Let the tea bag steep for a bit, then discard and enjoy!

Sick Day. Or, How I Conquered The Pomegranate.

1.03.2014


Confession? I had no idea what a pomegranate actually was until last month. For years, I've bought pomegranate flavored things without actually ever eating a real pomegranate, though I've always imagined it to be like a nectarine or a peach on the inside. Juicy, messy, and soft.

That is incorrect.

It's not like we had them hanging from trees in Connecticut (did we??) and I don't ever remember anyone I know ever eating one on the east coast. Even though I've loved the flavor in my lip glosses and margaritas, I don't think I even saw one up close until I moved to California.

See, here in San Diego, they do hang from trees. In fact, there's a pomegranate tree in the neighborhood two blocks away from me. So a couple of weeks ago, I took the plunge and bought a few at Trader's Joe's. After a few minutes of contemplating whether or not to just bite right into it, I googled "How do you eat a pomegranate" and was more or less stunned at how wrong I was.

Today, I am home sick after a whopping day and a half back in the office (Little known fact: our office was the inspiration for Contagion). While I prepared a little snack for my afternoon of popping DayQuil and finishing a book on my iPad, I thought that I would help out my fellow pomegranate-phobes and make a short Intstagram video sharing my newly mastered methods.


music: tristan prettyman - "the rebound"

Ali Larter's Lagered Turkey Chili

9.27.2013


When I moved into my first apartment in Connecticut back in 2007, I went on a cookbook shopping spree. My goal that year was to occupy myself after a breakup by teaching myself how to cook. On the weekends, I would sit on the couch, usually hungover, thumbing through the books looking for a recipe that sounded yummy and manageable given my tiny, decrepit kitchen and the shitty starter set of kitchen items I'd bought from Bed, Bath and Beyond.

What I found as I flipped through the books was that cooking the recipes within them was going to be a challenge. "Prep the charcoal grill" .... um, but I just have a gas stove and only one of the burners actually works? "Using a gallon-sized food processor" ... a what? "Place the ingredients into a dutch oven" .... hehehehe, I mean, do I have one of those? I was 21 and I didn't have the kitchen appliances or the spice rack or the knife set of a functional adult. The cookbooks mostly assumed that I knew basic cooking terms and that I liked fancy meats and seafood, which I don't. After a few all-around disasters, up they went on top of my fridge and collected dust while I ordered pizza, marathoned Sex and the City on repeat, drank a lot of White Zin and usually fell asleep on the couch.

Flash forward to this past August, when Ali Larter's cookbook "Kitchen Revelry: A Year of Festive Menus from My Home to Yours" came out. Ali who, you ask? Let me remind you of a little movie called Varsity Blues in which a pretty blonde girl shocks Dawson Leery's virginal sensibilities by walking up to him wearing nothing but a whipped cream bikini. THAT's Ali Larter. And you know what? She's an amazing cook.

Her cookbook is what I wish I had when I was trying to teach myself to cook that winter. If I 
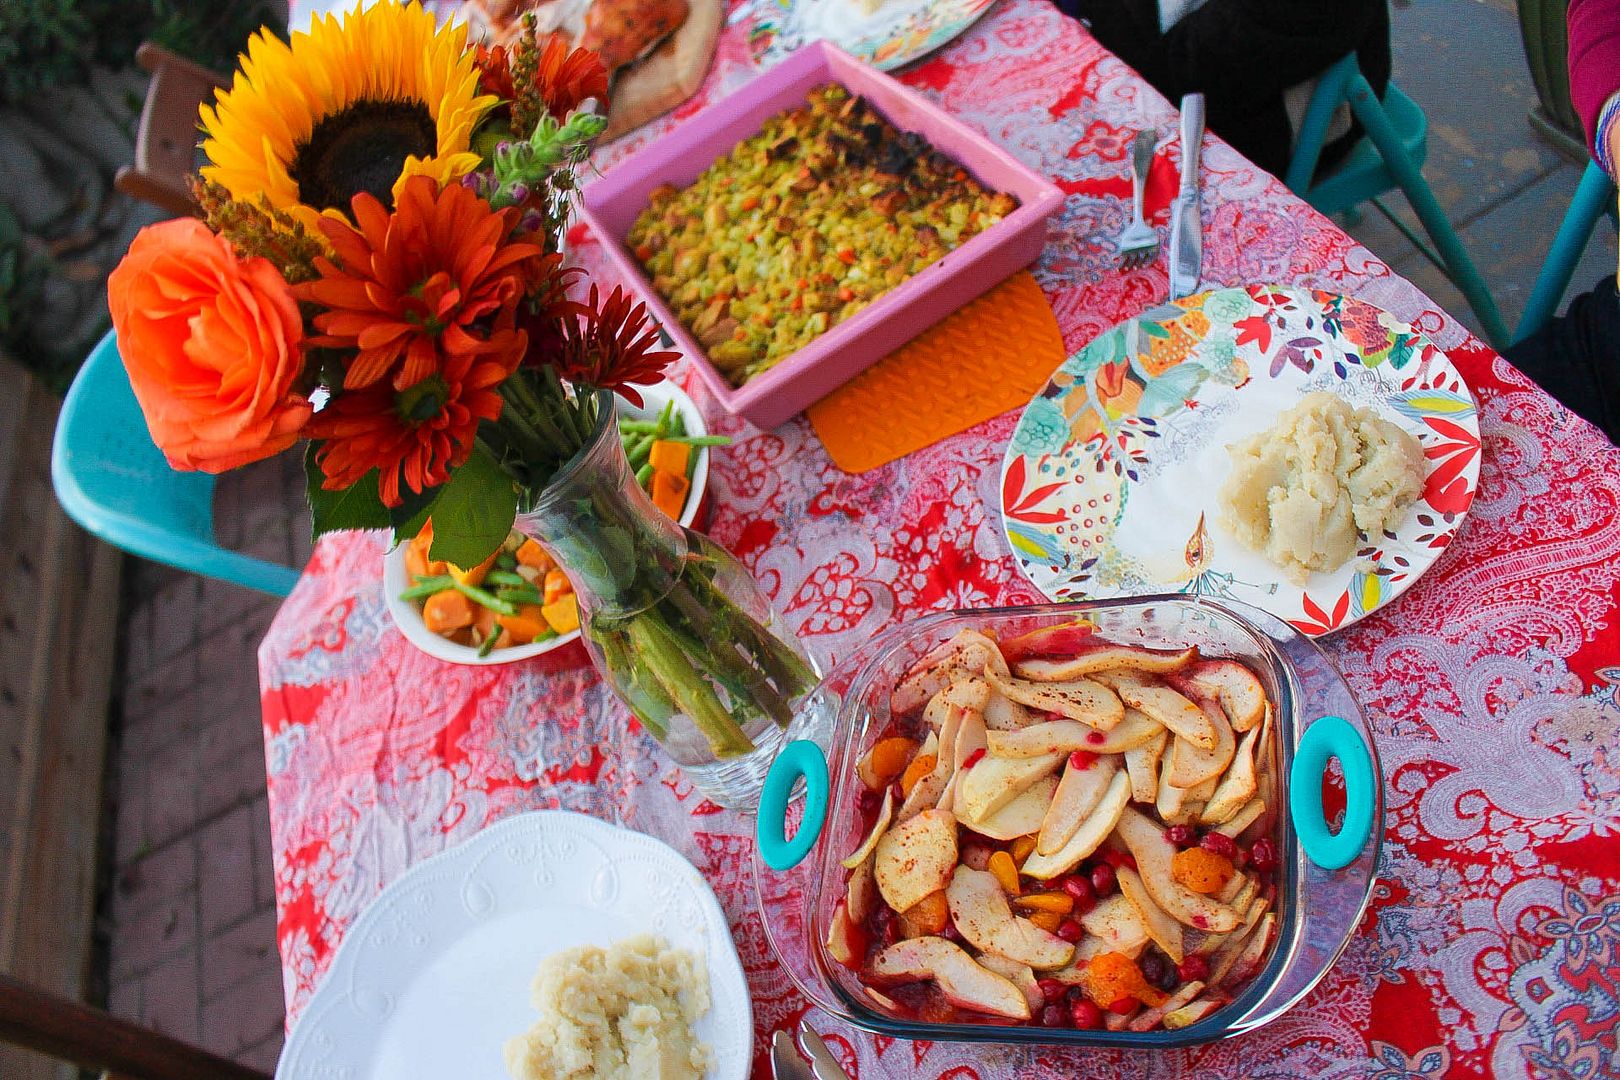
had had it, I wouldn't have been scared off of cooking for the following four years. The book itself is beautiful, featuring mouth-watering photography of the food and snapshots from Ali's home life over the course of a year. The chapters are broken down by month and there are 2-3 seasonal themes for each month with half a dozen recipes or more in each theme. There are entrees and salads and baked goods and cocktails and all of them are meant to be made with things that women in their twenties actually own. Within the past month, I've made her Lagered Turkey Chili twice and Ryan and me almost died over her Ricotta Meatballs in Chianti Sauce.

I can't wait to try and tackle everything in this cookbook and I can't recommend it highly enough. Do yourself a favor and try her recipe for Lagered Turkey Chili (below) this weekend:

Lagered Turkey Chili
Yield: 6 to 8 servings
  • 3 tablespoons chili powder
  • 2 tablespoons ground cumin
  • ½ teaspoon dried red chili flakes
  • ¼ cup olive oil
  • 3 cups chopped onion (about 2 medium onions)
  • 2 cups chopped seeded green bell peppers (about 2 green bell peppers)
  • 6 garlic cloves, peeled and minced
  • 2 pounds ground turkey meat, white or dark
  • 1 tablespoon dried oregano
  • 2 tablespoons tomato paste
  • 1 tablespoon salt
  • 1 tablespoon cocoa powder or 1 ounce dark chocolate, chopped
  • 1 (12-ounce) bottle Guinness or lager beer
  • 1 (14 ½-ounce) can diced tomatoes
  • 2 (15 ½-ounce) cans kidney beans, rinsed and drained 
  • cheddar cheese
  • green onions
1. Mix the chili powder, cumin and chili flakes in a small bowl.
2. Heat a heavy large nonstick pot over medium-high heat. Add the chili powder mixture to the pot and stir for 30 seconds to 1 minute until fragrant.
3. Add the oil to the pot, then add the onions, bell peppers and garlic and sauté until beginning to soften, about 5 minutes.
4. Add the turkey and sauté until no longer pink, about 5 minutes. Add the oregano, then the tomato paste, salt and cocoa powder; stir 1 minute.
5. Add the beer and simmer 5 minutes. Add the crushed tomatoes and the beans. Bring to a boil.
6. Reduce the heat to medium-low and simmer slightly covered until the flavors develop, about 30 minutes.
7. Serve with sour cream, grated cheddar cheese and sliced green onions.
Reprinted Source: New York Times

Notes: The second time around I used a couple more tablespoons of chili powder, one additional tablespoon of cocoa powder, and half as many beans and I think that's the way I like it.

I'm happy to say that these days I do have a food processor (the adorable Cuisinart Mini-Prep Food Processor) and it is a life saver. Everyone should own one. But if you don't, fear not. This is a cookbook that doesn't require you to have acquired a wedding registry's worth of tools to eat good food. You can watch a video of Larter making her Lagered Turkey Chili here and be sure to order her cookbook, "Kitchen Revelry: A Year of Festive Menus from My Home to Yours" for a year's worth of simple and savory recipes!

Sweet Summer Quinoa Salad

7.08.2013


I don't know about you, but the last thing I want to eat on super hot summer days is a hot meal. The warmer weather means I'm craving cooler recipes, which is how this little salad came about. I created it when I was trying to come up with a filling, healthy snack to bring to a beach bonfire a week ago and was really happy with the results. 

Truth be told, I'm still trying to perfect the balsamic glaze for this recipe, so the adjustments to the dressing I've made in the instructions below are still untested! However, I think they're a lot closer than my most recent attempt, which had over two cups of vinegar (hence the dark brown quinoa). But it was still a sweet and tasty dish at our most recent picnic in Balboa Park and made for yummy leftovers the next day too. :)

Ingredients:
  • 1.5 cups of uncooked quinoa
  • 1 lb of cherry tomatoes (I used a package of TJ's Organic Mixed Medley)
  • 1/2 red onion, diced
  • 1 cup of balsamic vinegar
  • 1/2 cup of brown sugar
  • feta cheese
  • 2 tsps. basil (I used dried herbs, but fresh would have been better)

1. Rinse the quinoa in a rice strainer and prepare according to package instructions. I recommend using a rice cooker, which is usually two parts water to one part quinoa (so 3 cups of water would be needed for this recipe). 
2. While the quinoa is cooking, start the balsamic glaze dressing. Mix the balsamic vinegar and the brown sugar in a small saucepan over medium heat until the sugar is completely dissolved. When it starts to boil, turn it down to low heat and let it simmer and reduce for 15-20 minutes. When it's complete, it should coat the back of a spoon. Take it off the heat and let cool. 
3. Dice the red onion and halve all of the cherry tomatoes. The flavor seems to come out in the salad more if you cut the tomatoes in half. 
4. When the quinoa is done, mix in the tomatoes, onions, basil and balsamic glaze. The salad is best served chilled, so put the bowl in the refrigerator until ready to serve.
5. Before serving, add feta cheese to your preference. 

Raspberry Lime Tequila Sangria

5.31.2013


Happy freakin' Friday everyone! I don't know about you guys, but this has been the longest short week ever. And I'm not sure whether it's because I'm staying sober this whole week leading up to the marathon or because of all the crazy stress from work and school, but I can't stop thinking about drinks to make for my post-race celebration! 

Ryan and I and a few friends had a picnic in Balboa Park this past weekend and it gave me an excuse to test drive a Pin that I've had my eye on for a while: a really simple recipe for an absolutely delicious Raspberry Lime Tequila Sangria that was originally on the Hopeless Domestic blog. This sangria was so refreshing and tasty for our summer afternoon and I can't wait to make it again. Here's the recipe with a few of my minor updates to the ingredients and the original directions from HD:

Ingredients
  • 2 oranges 
  • 3 limes 
  • 1/4 cup sugar 
  • 1lb or 6 cups ice 
  • 1 (10 or 12oz) bag frozen sweetened raspberries 
  • 1 cup silver tequila 
  • 1/2 cup Triple Sec 
  • 1 750 ml bottle of champagne  
  • 2 20oz bottles or 6 cups of lemon-lime soda

1. Juice one orange and two limes to measure 1/4 cup juice each. Combine juices and sugar in a microwavable bowl. Microwave on high for 2 minutes or until sugar is dissolved. Thinly slice remaining orange and lime.
2. Add ice, juice mixture, orange and lime slices, raspberries, tequila and triple sec in a pitcher and stir. Add champagne and soda, stir gently and serve.

Some notes: 
  • If you don't already have one, pick up a lime squeezer and an orange juicer or citrus reamer. So much easier than hand-squeezing the juice out!
  • This filled a 142oz beverage dispenser for us, so the serving size is a little over 10 Solo cups worth. :) 
  • But, don't make the mistake that I did and put this in a cheap beverage dispenser. There's a lot of raspberries inside that will clog the spigot if it's not big enough. However, a gallon pitcher will be slightly too small for this recipe, so if you do make this in a beverage dispenser, be sure to have a ladle or a way to pour this out of the top as a backup. 
  • For tequila, I used Peligroso Silver and for the champagne, I used Barefoot Bubbly Brut Cuvee. 
  • I used regular Sprite in the one we drank and it was great. But with all the sugar in this recipe, it would probably be healthier to use Sprite Zero next time. 
  • All told, this sangria takes about 15 minutes to make. That said, make it as close to serving as possible. Otherwise you'll lose the carbonation after an hour or two and that's the best part!

Traditional Irish Soda Bread

3.17.2013


Happy St. Patrick's Day everyone! Whether your're celebrating it with Guinness, whiskey or wine, I thought I'd share a recipe that will go with any St. Patrick's Day-themed meal you're having, even if it's just a liquid one. ;)

I grew up in a very Irish American family. After all, my last name is Kennedy, my first name is Celtic for "The Strong" and I was born with Catholic guilt in my veins. When I was a kid, my mom used to make Irish Soda Bread with us for St. Patrick's Day and at my insistence, it had to be green. So the leprechauns would recognize it, obviously. 

Traditional Irish Soda Bread is a St. Patrick's Day staple for me and is far more basic that 95% of the recipes you'll find when you Google it. It requires 4 simple ingredients: all-purpose or wheat flour, baking soda, salt, and buttermilk. And if you make the SanBriego version, it requires a special fifth ingredient: green food coloring.


Ingredients
  • 3 1/2 cups of all-purpose or wheat flour (I used all-purpose) 
  • 1 teaspoon of salt
  • 1 teaspoon of baking soda
  • 2 1/2 cups of buttermilk
  • 15 drops of green food coloring

1. Preheat the oven to 450 degrees.
2. Lightly grease and flour a 8" round cake pan.
3. Mix the dry ingredients in a large bowl. Stir in 2-2 1/2 cups of buttermilk and finally, the food coloring.
4. Flour your hands and the kneading surface and lightly knead the dough for a couple of minutes.
5. Form the dough into the cake pan and cut a cross on top with a knife. Make sure to cut the cross all the way through to the bottom of the pan, not just on the surface of the dough. 
6. Bake at 450 degrees for 15 minutes, then reduce heat to 400 degrees for an additional 30-35 minutes. 


A lot of recipes will suggest adding currants, raisins or orange zest to your bread. Traditional Irish Soda Bread doesn't contain any of these things, but it probably wasn't green either. :) Enjoy a slice with melted butter or serve it as a side to some Shepherd's Pie like we did last night. Sláinte!


DESIGNED BY ADRIEN DESIGN
POWERED BY BLOGGER